How to properly prepare a copper pipe for installation

Cutting, deburring, and inspection before brazing or press fitting
A copper pipe is not ready for installation immediately after cutting. Its end must be shaped, deburred, and cleaned. During brazing, preparation affects surface wetting and filler metal flow within the capillary gap. During press fitting, it helps protect the O-ring seal when inserting the pipe into the fitting.
The beginning of the procedure is similar for both technologies, but subsequent steps depend on the type of connection. Below, we describe the common stages and differences worth remembering before starting work.
Why pipe preparation matters
After cutting, an internal and external burr may remain on the pipe edge. Inside the line, a burr locally reduces the cross-section and disrupts flow. In a copper system, this can promote local turbulence and corrosion. It can also trap metal shavings and other debris generated during processing.
The external edge comes into direct contact with the fitting. A sharp fragment makes pipe insertion difficult, and in a press-fitted connection, it can cut, roll up, or displace the O-ring. Seal damage is not always visible from the outside, which is why preparing the pipe end should not be skipped.
1. Cut the pipe perpendicularly
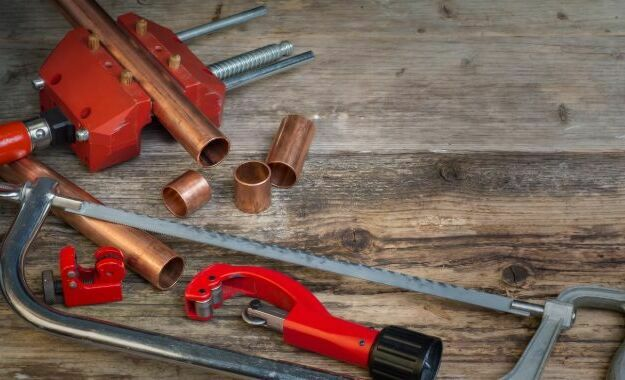
Use a tool designed for cutting copper pipes and make the cut as perpendicular to the pipe axis as possible. An even edge facilitates proper seating of the pipe in the fitting and maintains joint geometry. Do not deform the end during cutting, especially when working with soft or thin-walled tubing.
For precise copper pipe cutting, we recommend professional tube cutters whose size and design will help you cut the pipe even in the tightest spaces.
Two distinct devices:
Two sizes, but the same professionalism and cutting accuracy.
If the system's technology or instructions permit another tool, check the edge perpendicularity, pipe condition, and the presence of metal shavings after cutting. Merely cutting the pipe to size does not mean the end is ready for installation.
2. Remove internal and external burrs
Perform deburring after every cutting operation. Remove the sharp internal burr to restore a smooth and maximally full pipe cross-section. Also, smooth the external edge that will enter the fitting.
The goal is not to grind away a large amount of material or create a deep chamfer. Remove the sharp edge without unnecessarily changing the diameter and shape of the end. Excessive machining can weaken the edge or deform a soft pipe. For internal deburring, a pencil pipe reamer can be used, such as the VALUE VTT-5 with a replaceable blade.
3. Clean the pipe and fitting
For brazing, clean the surfaces that will form the joint: the external surface of the pipe end and the inside of the fitting socket. Remove oxides and dirt down to a clean, bare metal surface using a cleaning pad or a stainless steel brush that does not cause corrosion and is specifically designed for copper. Do not sand harder than surface preparation requires.
After cleaning, remove dust and metal shavings, including those that might have gotten inside the pipe. If the surface is greasy, apply a degreasing agent, preferably IPA (isopropyl alcohol), and wait for it to evaporate. Do not touch cleaned surfaces with dirty gloves.
For a press connection, clean the part of the pipe that interacts with the seal. The surface should be free of shavings and debris, but must not have deep scratches or damage. Avoid aggressive sanding in the zone where the O-ring slides.
4. Check the geometry and condition of the end
Inspect the pipe after cutting and deburring. Check if its end is flattened or oval, and whether there are any dents, cracks, or deep scratches in the joint area. If the pipe has been deformed, use a proper sizing tool only if the pipe's condition requires it and the instructions for the given system allow it.
Before brazing, perform a dry fit of the pipe into the fitting. The pipe should slide in to the correct depth and must not be forced. Maintain the capillary gap intended for a given system and filler metal. Do not adjust it through random reaming or grinding.
Preparing the pipe for brazing
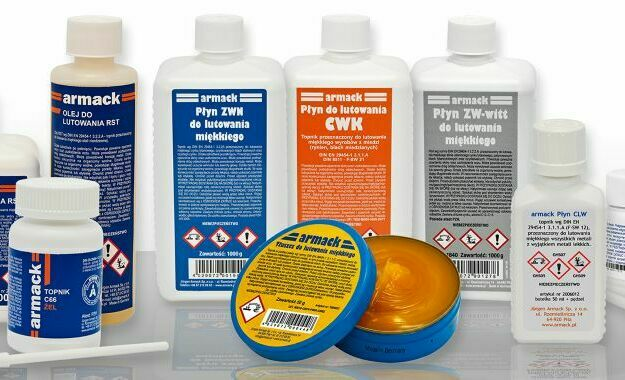
Proper cleaning facilitates surface wetting and filler metal flow in the capillary gap. Select the flux according to the brazing method, materials, and filler metal used. Apply it in the quantity and on the surfaces specified by the manufacturer and in accordance with best industry practices. Excess flux can enter the inside of the system and must be flushed out.
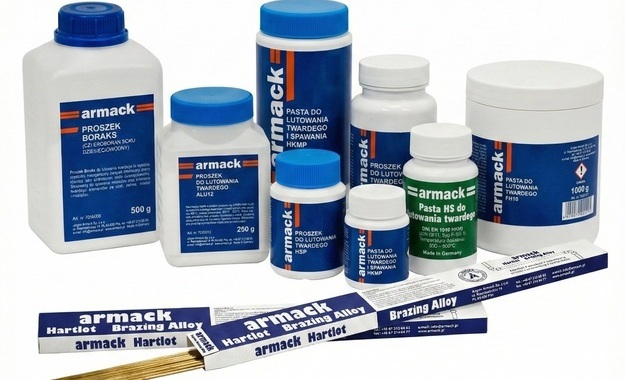
In copper-to-copper hard brazing, copper-phosphorus filler metals can be used without additional flux. When joining copper with brass or bronze, the use of an additional flux is required. Always check the technical data sheet of the filler metal and flux for the specific joint.
After brazing, remove flux residues following best industry practices. Leftover active residues can promote corrosion. Choose the cleaning and flushing method based on the flux and system used.
Preparing the pipe for press fitting
Before inserting the pipe, check the fitting and the position of the O-ring. The seal must be correctly seated and undamaged. A sharp pipe edge can damage it during installation, which is why external deburring is especially important for this joint.
Clean the sealing zone and remove metal shavings. Mark the required insertion depth if the system instructions mandate it. Insert the pipe straight and without jerking. If you encounter noticeable resistance, check for burrs, pipe geometry, and O-ring condition instead of forcing the pipe in. Use a press tool and jaws compliant with the system manufacturer's requirements.
Most common mistakes during preparation
- Leaving a burr inside the pipe or on the external edge.
- Making a deep chamfer or excessively grinding the end.
- Leaving metal shavings and dust after cutting or cleaning.
- Inserting a pipe with deep scratches or a deformed end into the fitting.
- Failing to inspect the O-ring and insertion depth in a press system.
- Using flux or filler metal without verifying their suitability for a given joint.
Short pre-installation checklist
Before joining, ensure that:
- The pipe is cut perpendicularly and has not been flattened.
- Internal and external burrs have been removed without deep chamfering.
- The pipe end and fitting are clean, and no metal shavings remain in the line.
- The surface in the joint zone has no damage.
- For brazing, you are using the correct filler metal and flux; for press fitting, you have checked the O-ring and insertion depth.
A properly prepared pipe facilitates the creation of a solid joint and reduces the risk of problems that might only become apparent during a leak test or regular operation. Cutting, deburring, and cleaning should be treated as integral parts of the installation process, rather than additional or unnecessary steps.
Author: Adam Kopeć